
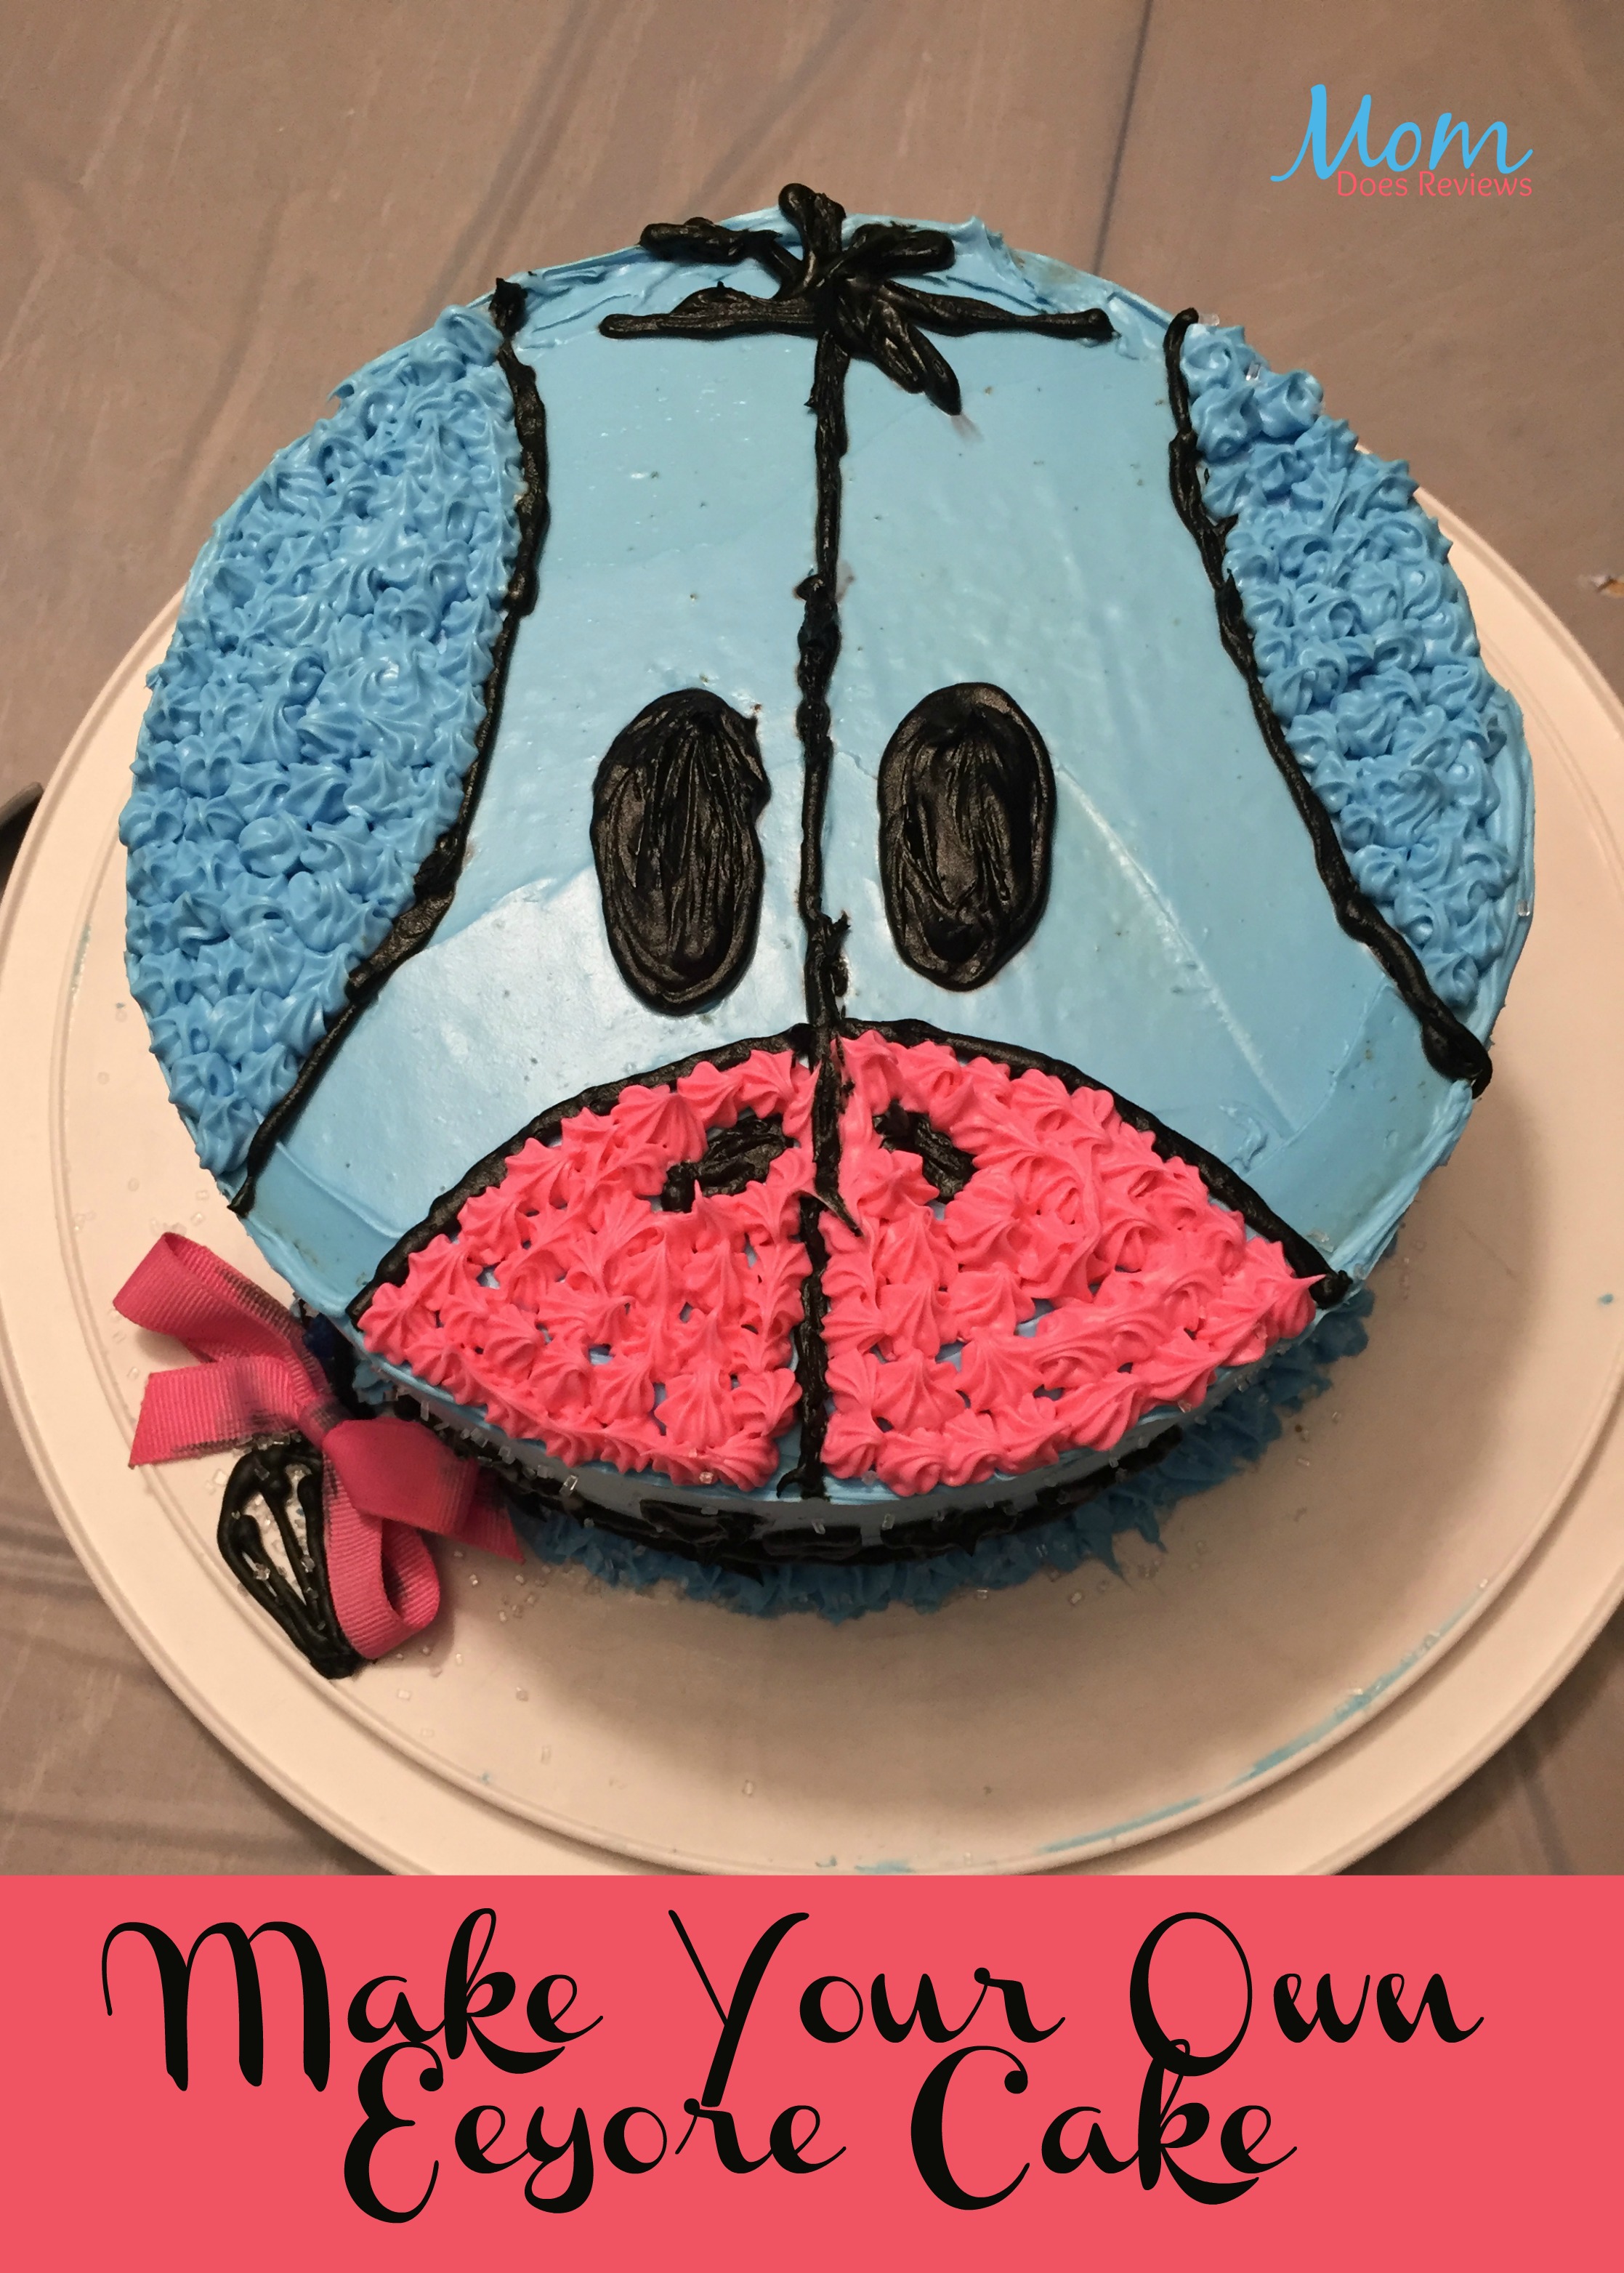
Eeyore Fans Can Now Have Their Cake and Eat it Too
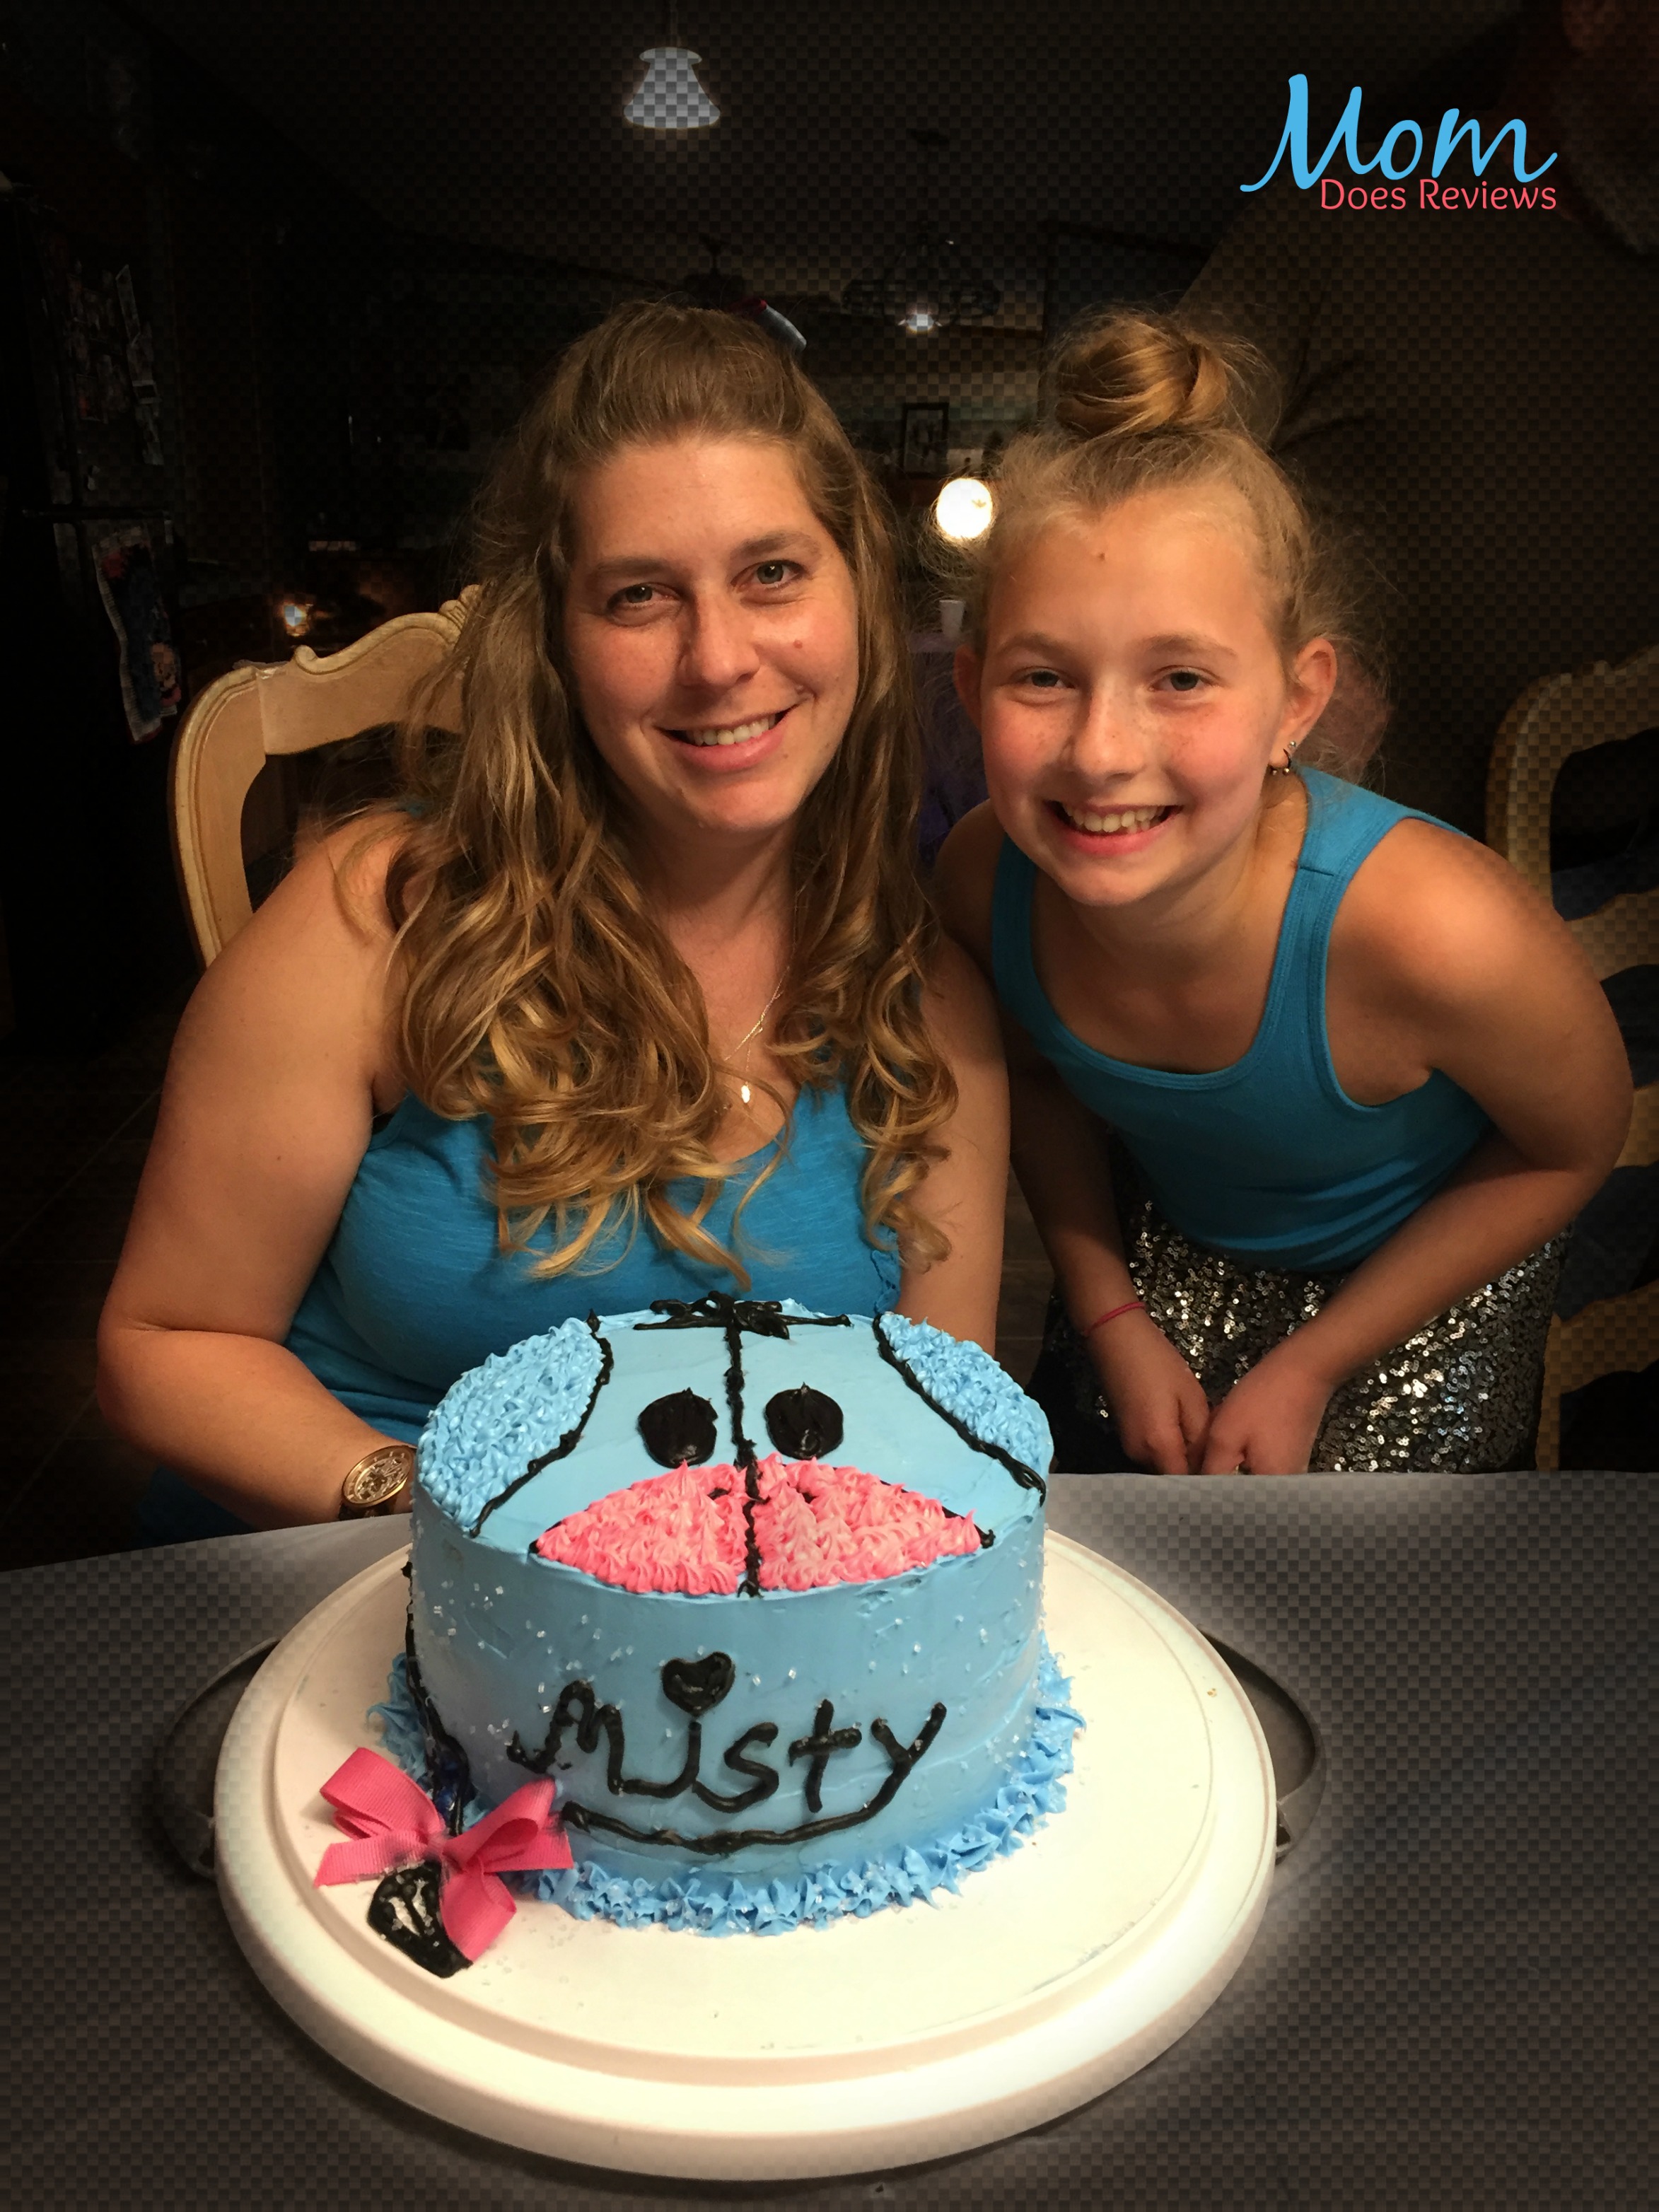
Since I was a child, I have been a true Eeyore fan. I had a sweet 16, and my friends brought Eeyore stuffed toys and clothes, and an awesome Eeyore watch where his tail was the minute hand. Now here I am at 39 and I just had my birthday. My daughter asked if she could make a cake. Usually I do not get a cake because I am the one who does all the party planning. Therefore I was excited about having a birthday cake made just for me. She said it would be a surprise and worked out the details with my best friend. She even went over there to make it so I would be surprised. I knew I would love it however it turned out, but I was amazed at her skill, and her thoughtfulness. She picked the perfect theme for me, and made a beautiful Eeyore cake. She is 11, but made a cake adults would be proud to call their own.
Ingredients
- 2 white cake mixes
- 2 white icing tubs
- blue and pink dye for icing
- pre-made black icing
- 3- eight inch cake pans
- icing bags
- icing tips-star and round
- pink bow
- white crystal sprinkles
- other dye for cake batter-optional
Making the Cake
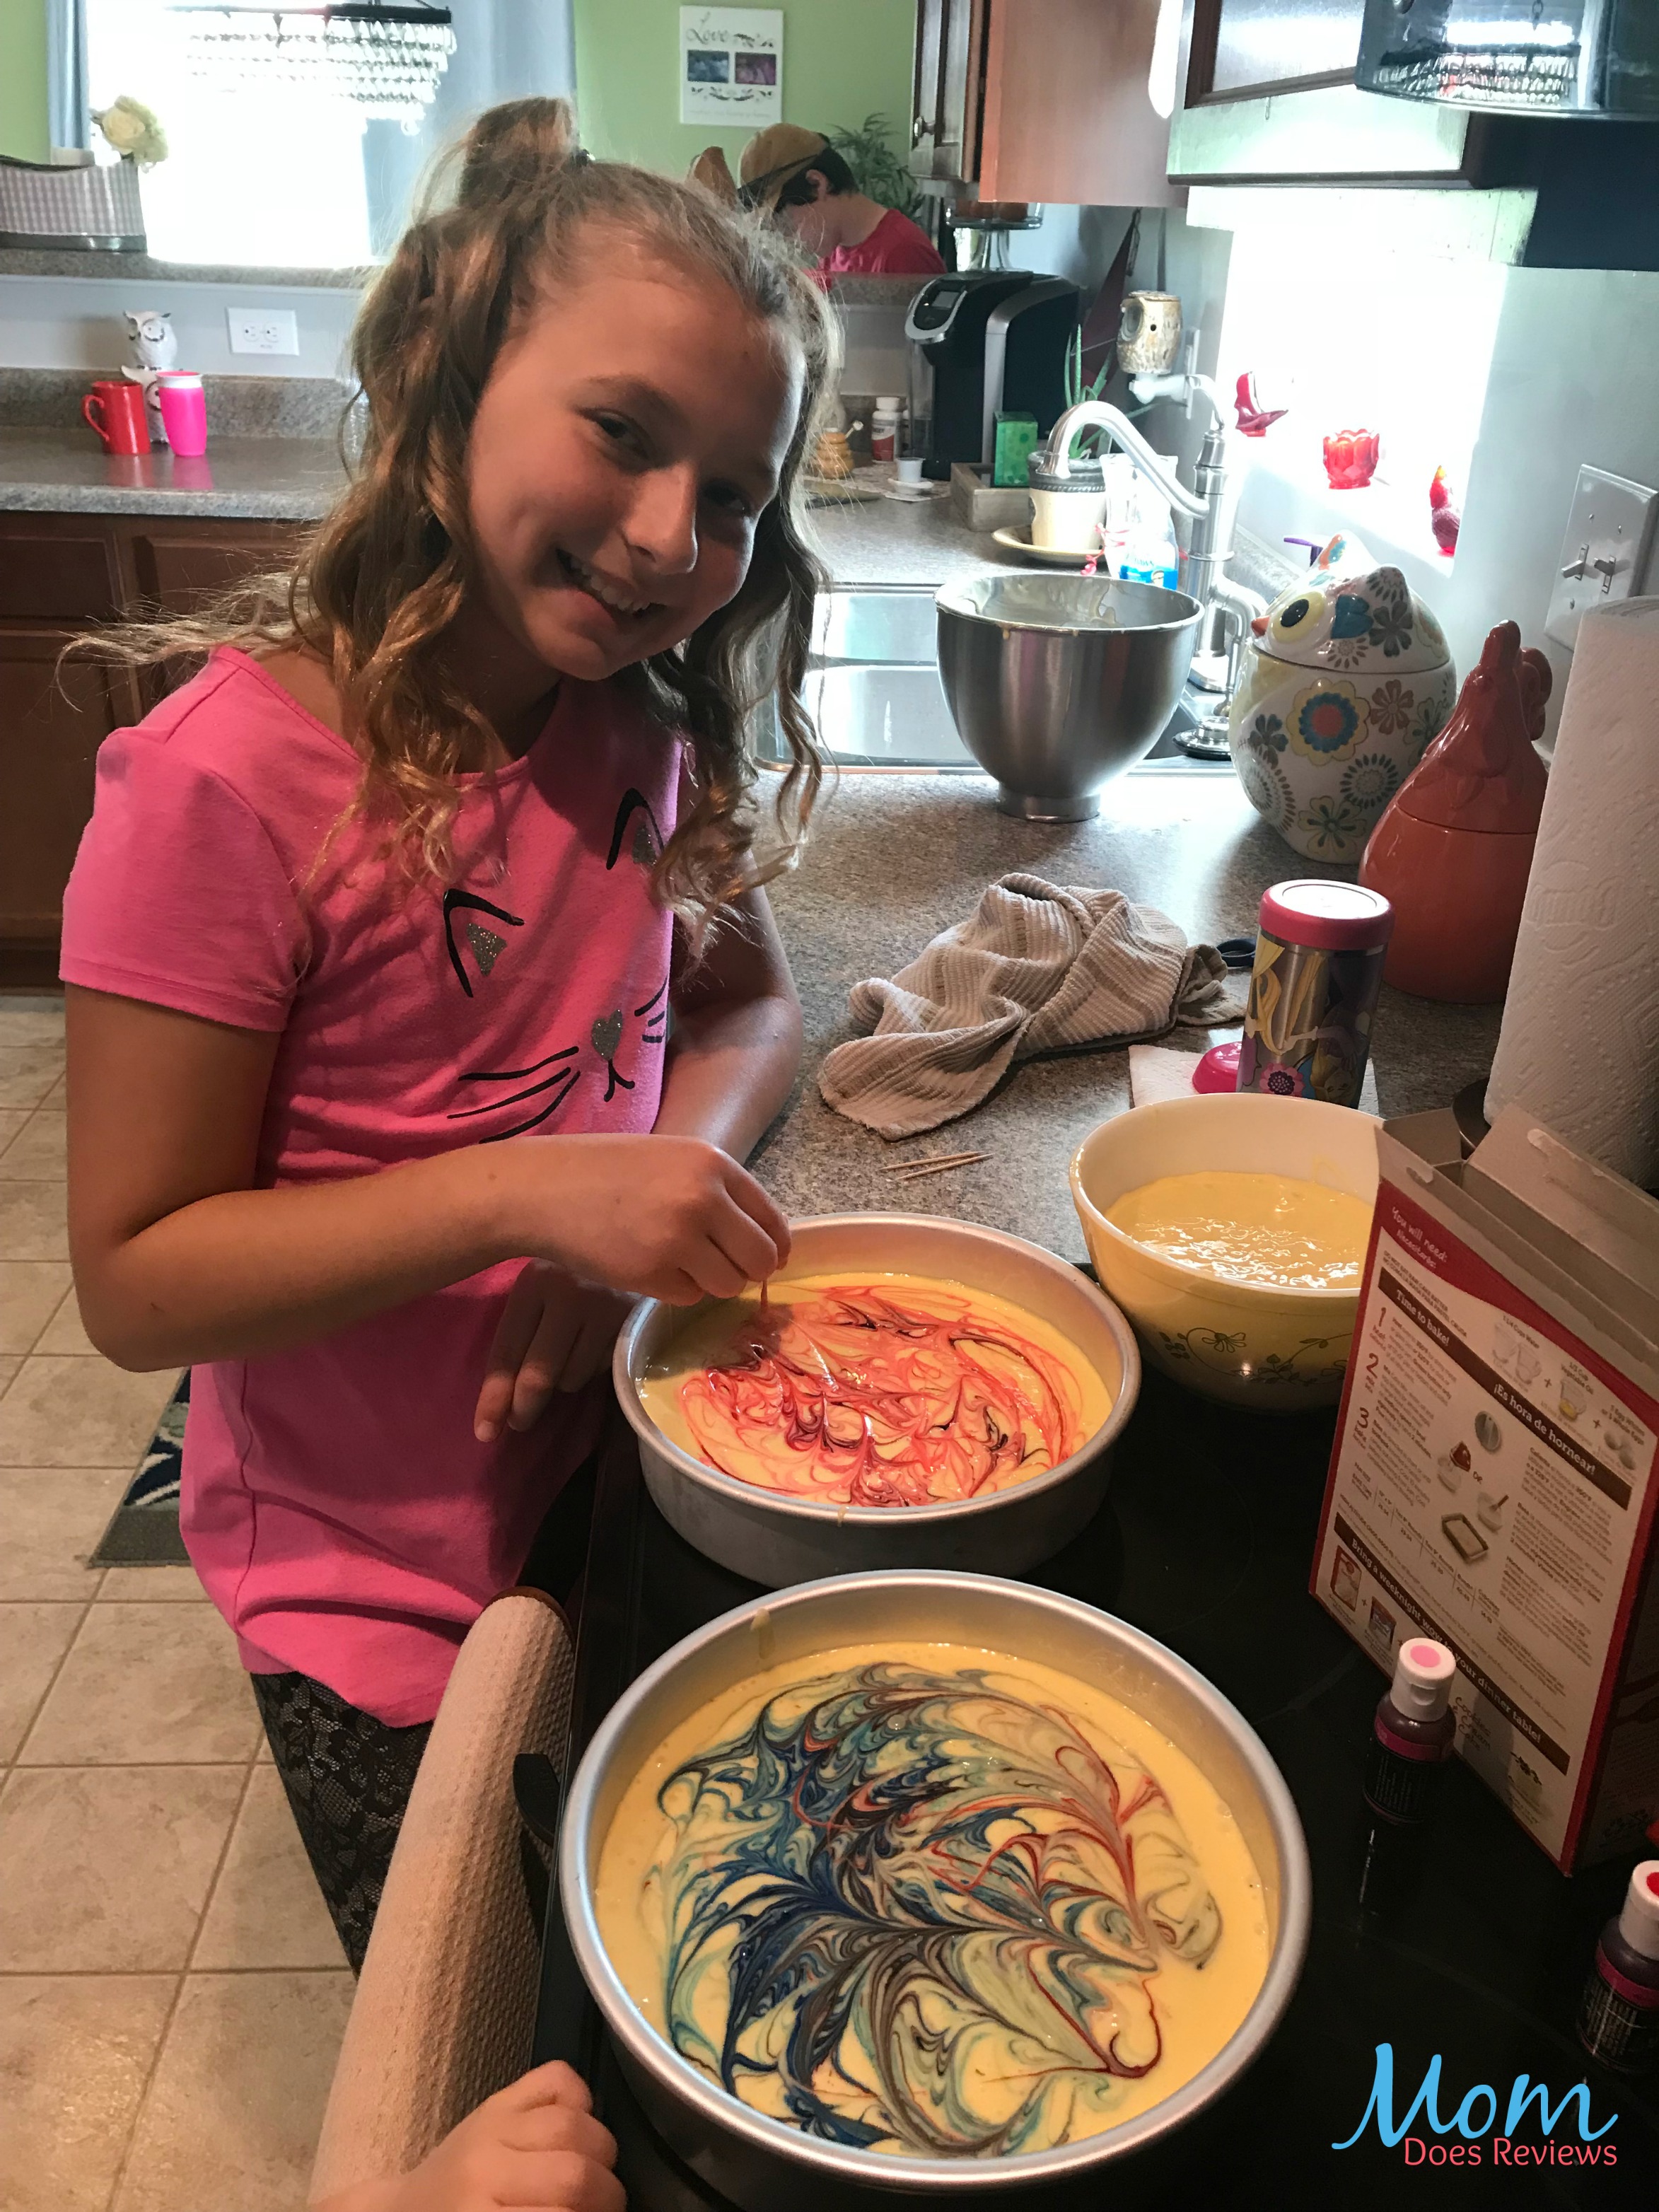
First you need to bake the cakes. Follow the directions on the cake mixes and put an even amount of batter in each 8 inch cake pan. If you desire you can add dye to the batter to color it. My daughter made one layer blue, and the other two tie-dyed with red and green and blue just swirled through. Bake all three cakes and let them cool completely. Wrap the cool cakes in tin foil and freeze for at least 24 hours.
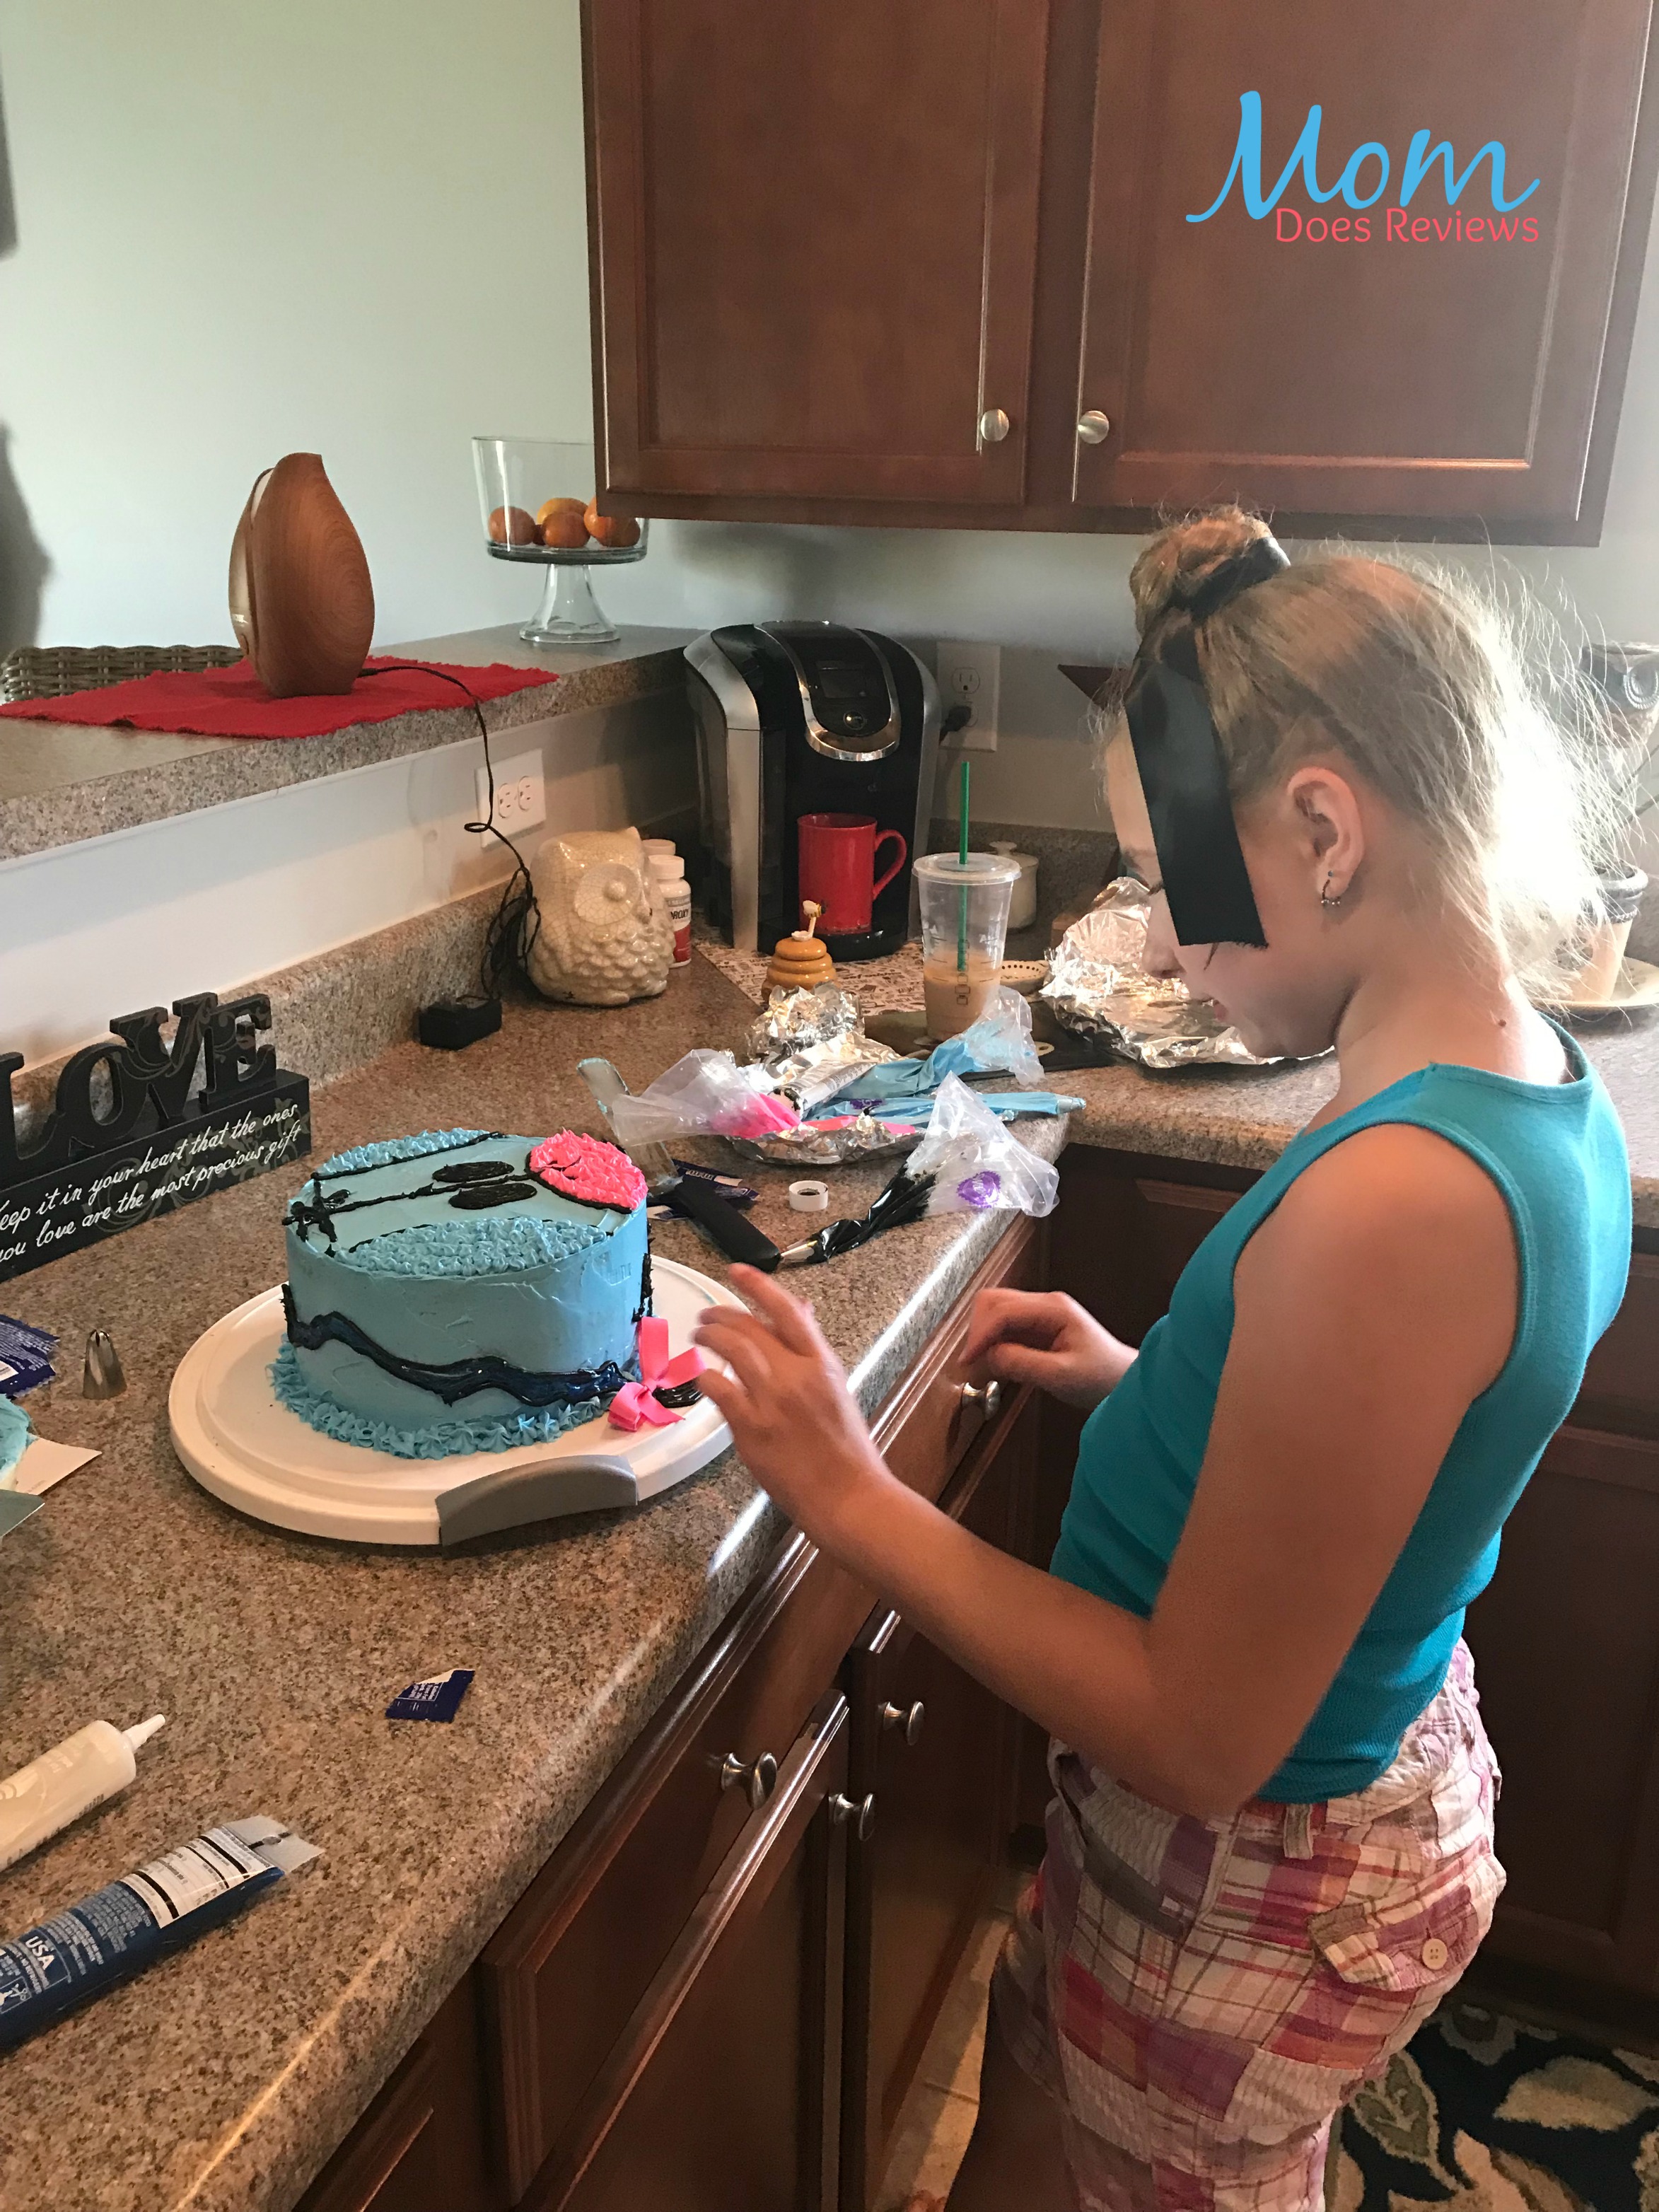
Decorating the Cake
First tint 1 1/2 of the icing blue, and tint the remaining 1/2 pink. Then take out the frozen cakes and put one layer on the cake plate. Put a layer of blue icing on it, add the second layer and ice it, and add the top layer. Once all three layers are in place, ice around them all and on top in blue, and smooth it all down. Next use a star tip and pipe blue around the base of the cake. Then take the black and draw the lines on the face, eyes, ears, hair, and nose shape. Also dray the tail with the black along the side of the cake and end it along the cake platter in the front with a poof of black icing as the tail tip. Then using pink icing and a star tip fill in the nose area around the nostrils. Plus with blue again fill in the ears with the star icing tip. Lastly sprinkle white crystal sprinkles along the sides, add a name in black on the front, and pop a pretty pink bow on the tail.
Party Details
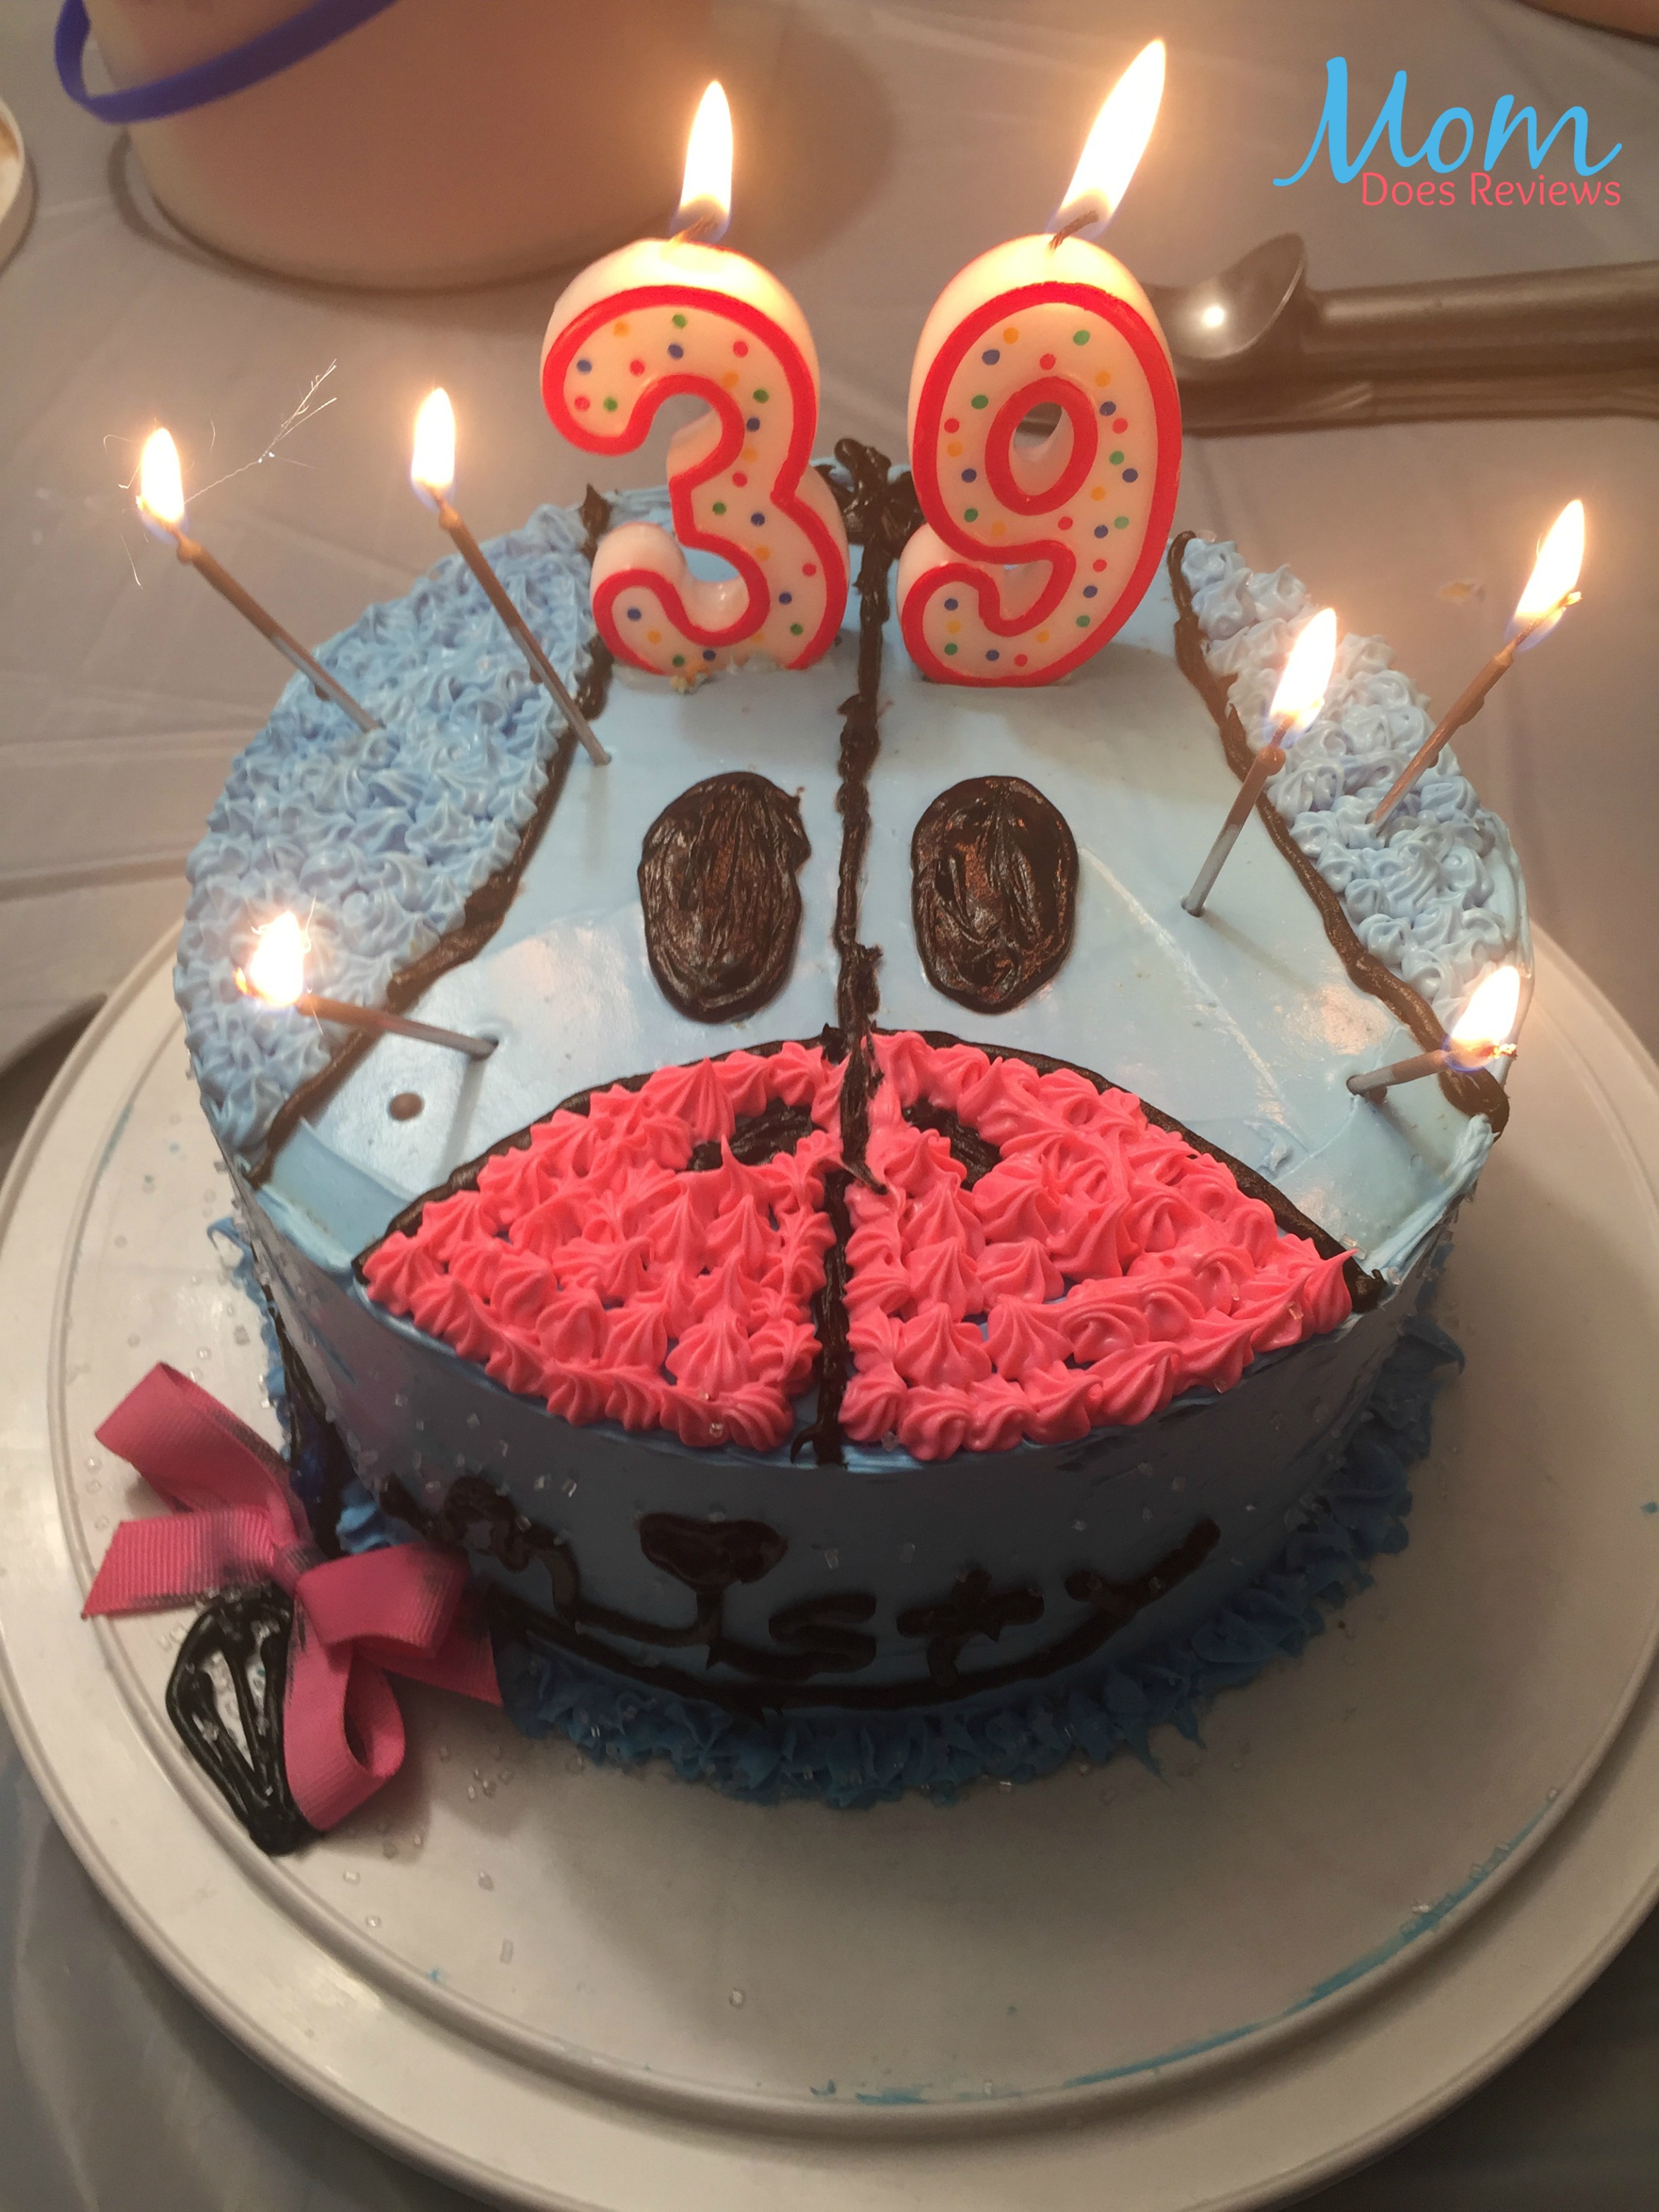
Now that you have the beautiful eye catching Eeyore cake, you can pair it with blue and purple table clothes to set the scene. My daughter took all the Eeyore plush toys she could find to make a center piece and to add decor throughout the house. She took blue balloons and drew Eeyore faces on them and hung blue streamers from the door. It was a lovely family evening with all our extended family. Everyone loved the cake and could not believe she made it. She put on a 3 and 9 number candle and several silver sparkler candles. Once it was cut into and served with some ice cream it was demolished. There wasn’t even a slice left over for me to eat the next day.
What a special day it was for me, all because of my sweet baby girl who made me a special cake to celebrate my birthday. Now you can make this adorable cake for someone special in your life. Whether young or old Eeyore and all his friends are classic and everyone loves them. Now that you know how to make this cake, start planning the rest of the party and have an epic Eeyore Celebration!
With the new Disney Winnie the Pooh movie coming out- Christopher Robin, be sure to check out our Movie Post and the Honey BeeHive Cookies too!
You can get started by gathering some essential ingredients from Amazon:
Pink hair bow Black icing 8 inch cake pans
Who is your favorite character from Winnie the Pooh? Let us know in the comments below!